Right beside our front door is a cedar closet and a coat rack. I wanted to eventually get or make a bench to go under the coat rack so I could take my shoes off when first coming in the house. I had looked at options online but everything was far more expensive than I wanted to pay. I also looked on Pinterest for ideas in case Matt ever felt like building one. Saturday, we talked about making a bench after dinner, and I remembered that we had the teal painted boards that used to be in our kitchen's pantry.

I picked one that I wanted to be the top piece then tested it out under the coat rack. Seemed like a good fit so Matt got to building it.

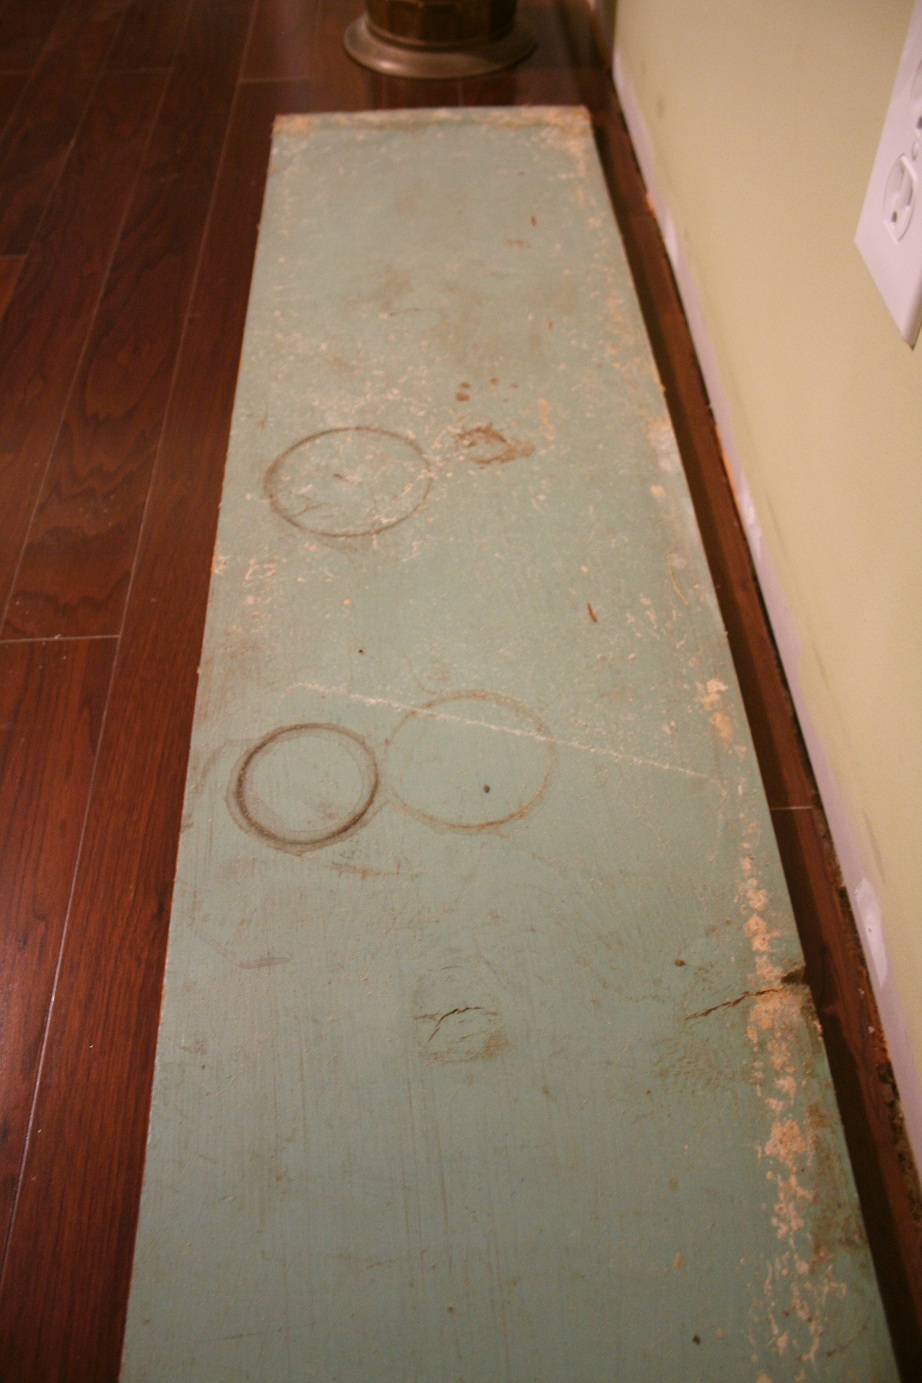
Below is a view of the board I chose. Yes it has strange stains, but for some reason I felt like that gave it some extra character.
First Matt cut the remaining boards into 3 inch strips for the legs of the bench. I was able to help some because he'd bought me ear plugs a while ago, and I wore safetly glasses. Power tools make me insanely nervous.


Next the legs were measured to be 18 inches long. It takes two pieces to make one leg giving it extra strength and stability.


After the pieces were all evenly cut, Matt started piecing together the legs. Finishing nails were used to hold it together.


Here's a view of the underside of the bench. I like that it still has old floral shelf liner on it. And this is how Matt put on the lip of the bench. The two long pieces were nailed on first; then the two end pieces were fitted in between.


Next the legs were screwed into place, completing the bench.


I'm really loving it so far. I don't know if later I'll do some other treatment on it, like a white wash or using milk paint for a thin over coat. Until then, I'm just enjoying my robin's egg blue bench.
1 comment:
YAY! I love it! And good for you for being in the same room as power tools.
Post a Comment